IDEA搭建web项目相关问题
本次主要是为了跑书上的代码,了解struts2框架的基本使用,因此代码都是直接复制粘贴,主要讨论的是配置问题
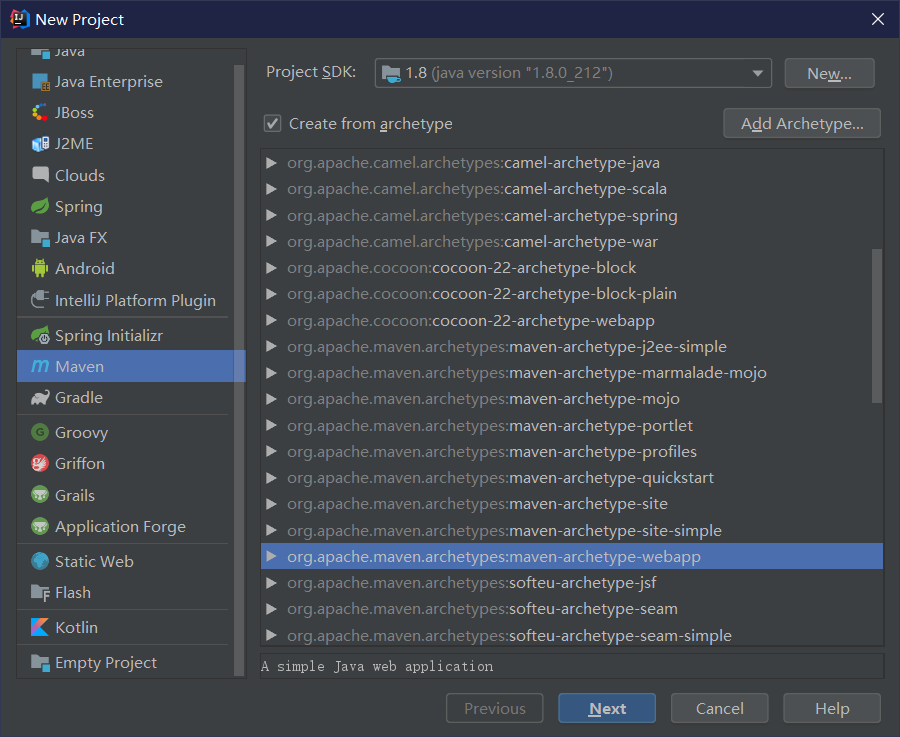
使用maven创建项目,好处是可以由maven下载相关包,无需自己导入下载
首先创建项目:选择maven-勾选Create from archetype-选择底下的webapp-然后点击next
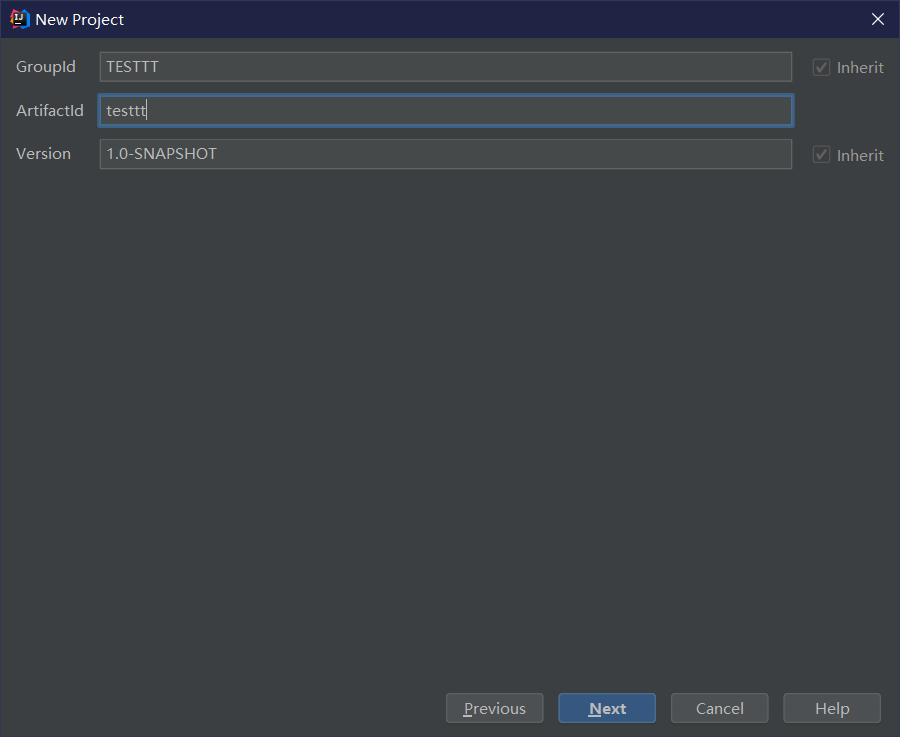
接着项目命名随意,点击next
然后注意修改setting.xml文件
笔者这里是自己的setting.xml文件
修改方法参见这里:
修改maven镜像:
https://jiangyuesong.me/2016/11/07/maven-intellij-change-mirrors/
原因是之前提到了 maven会自己下载所需包,但是有些包下载过慢,因此需要换用国内镜像
至于local repository所选位置可自定义,或默认并无影响
最后点击next-finish即完成创建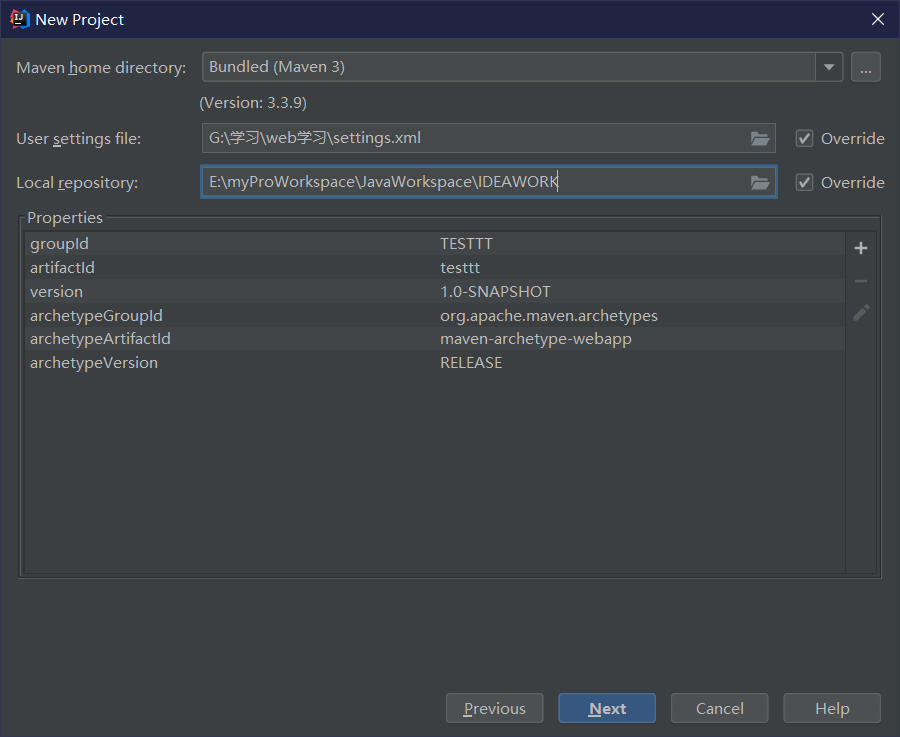
创建完后,显示如下:
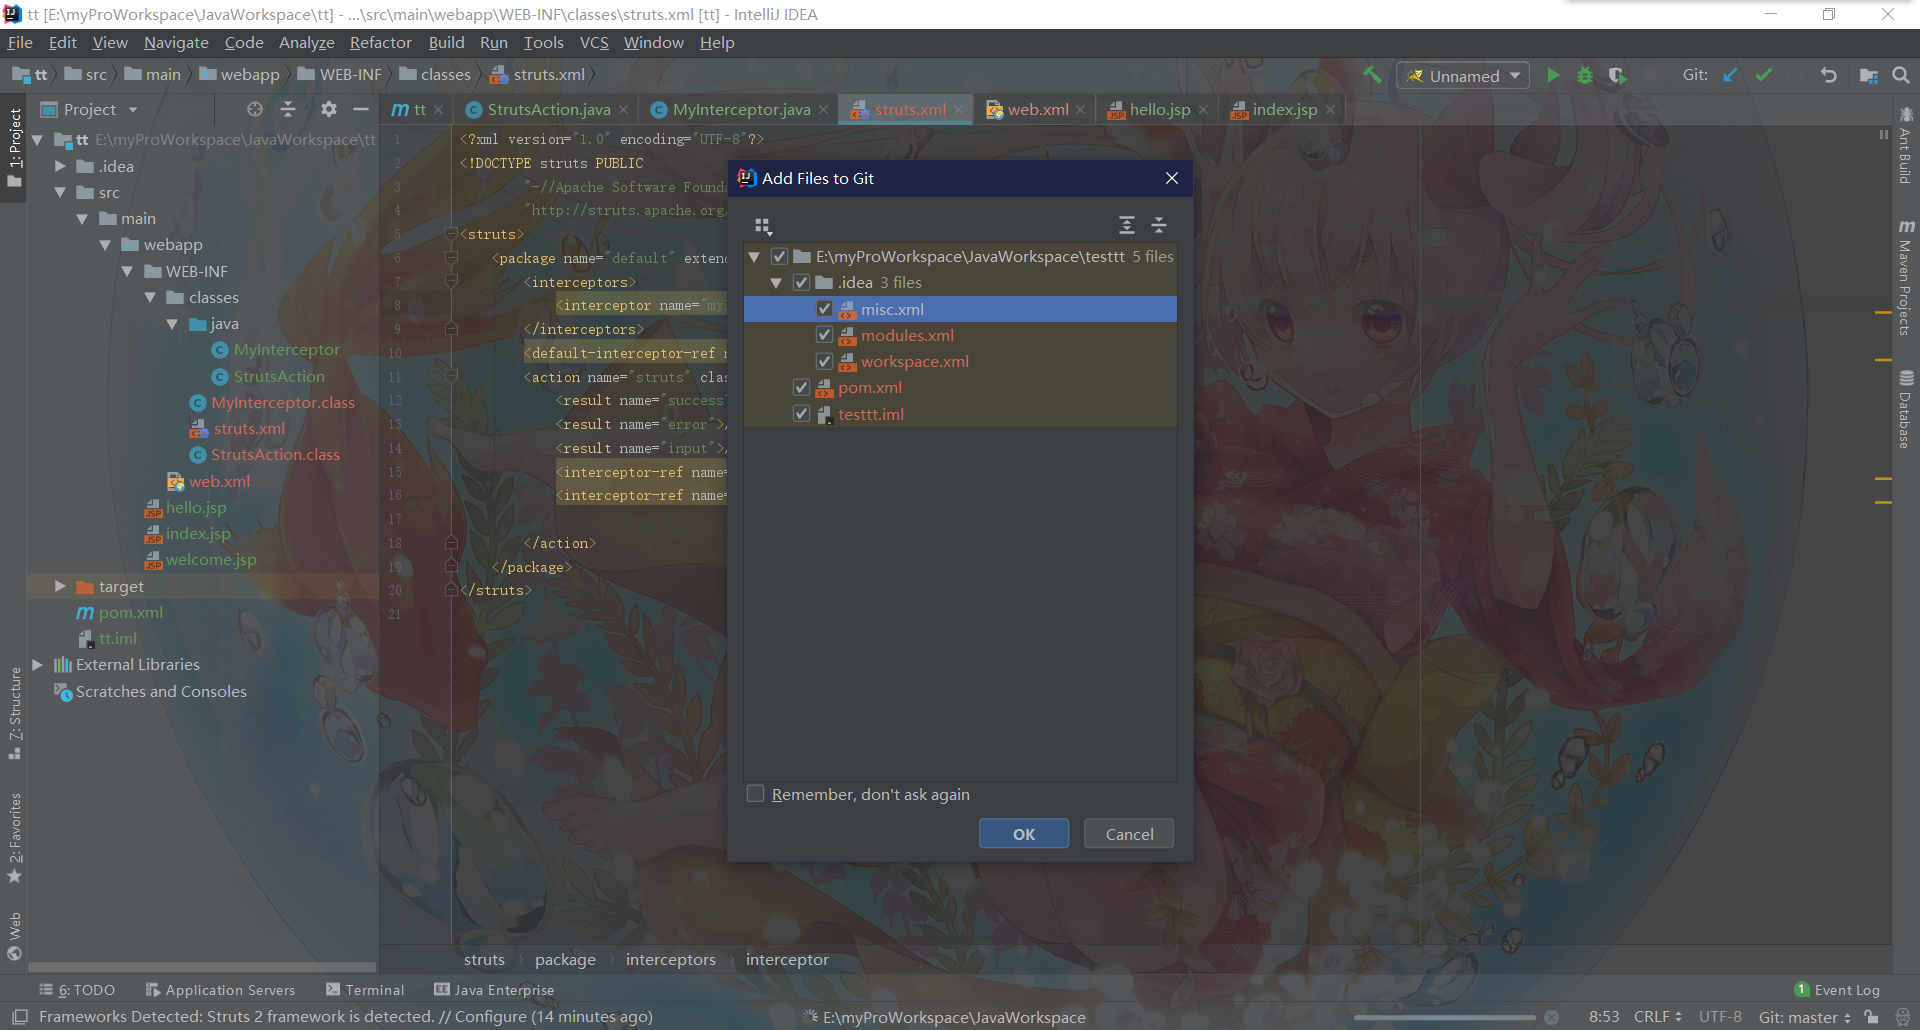
选择ok
然后会有提示出来,在右下角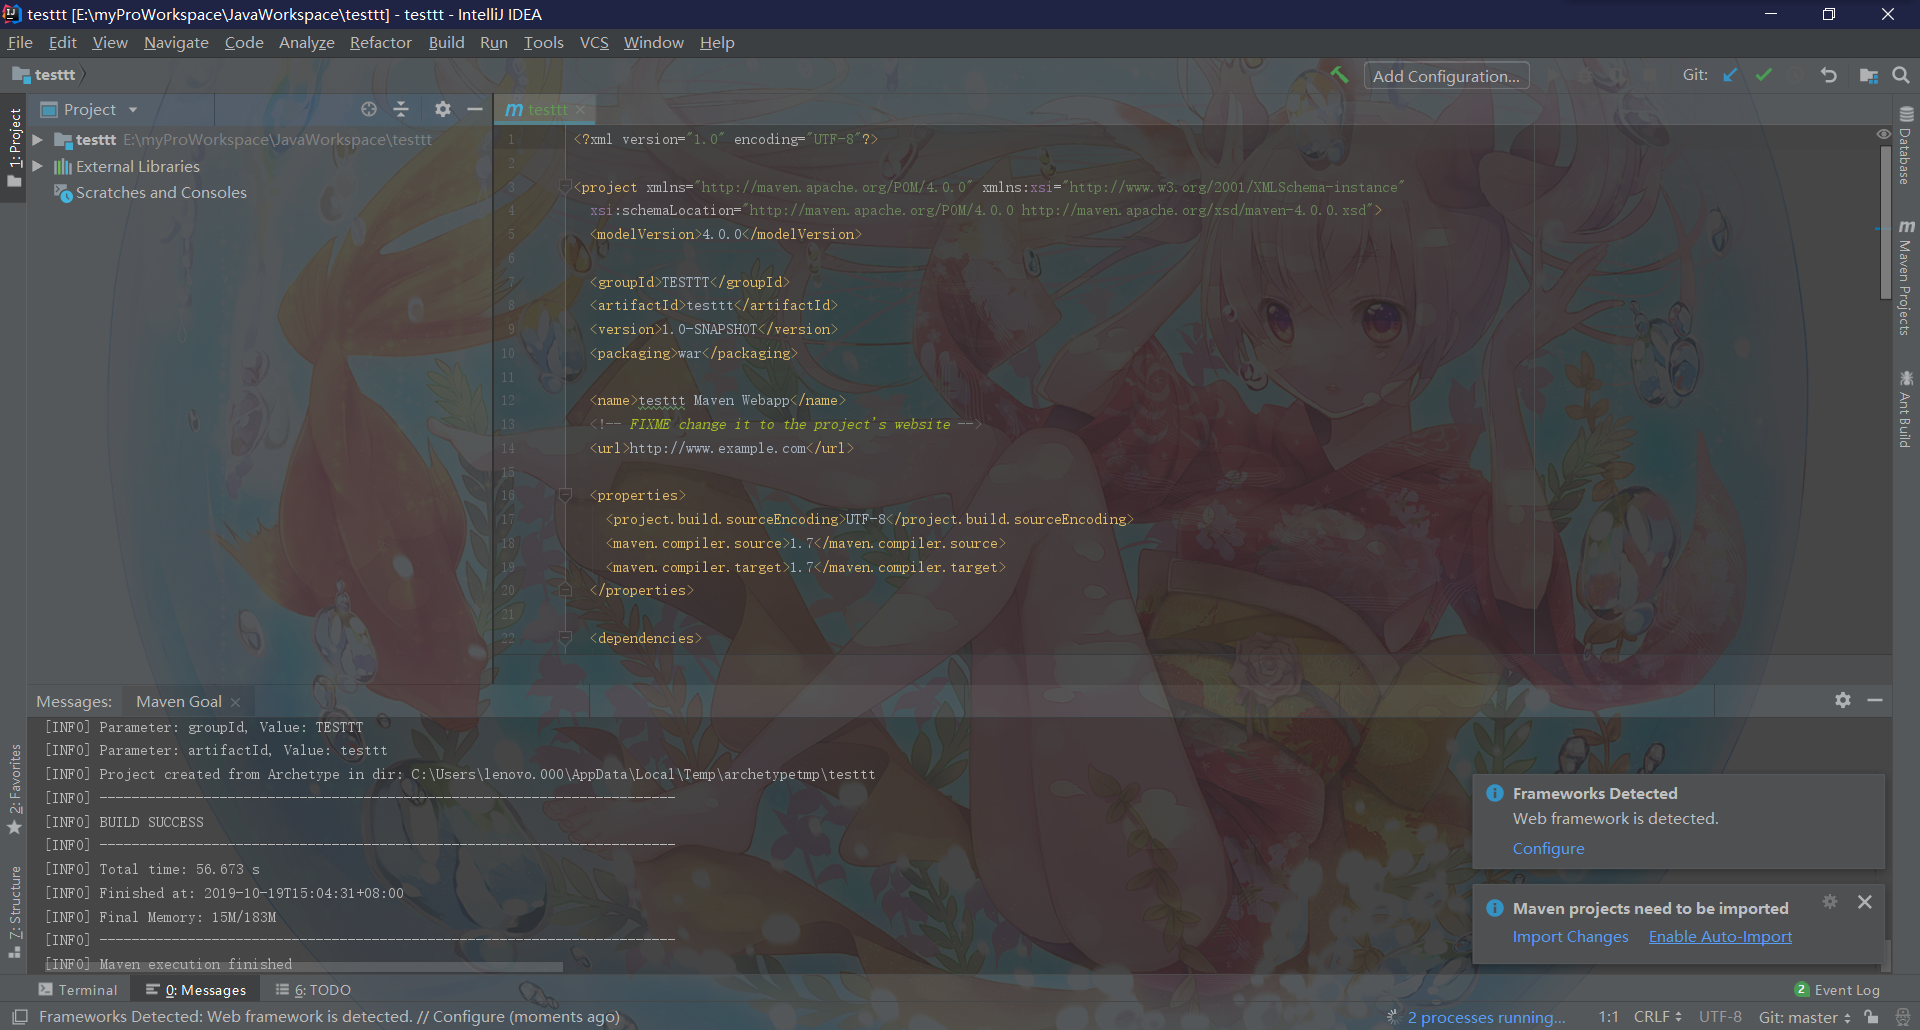
选择enable auto import,这就是maven在帮我们自动配置
如果之前没有修改镜像的话,这一步会特别慢,因此要注意auto import后文件目录显示如下
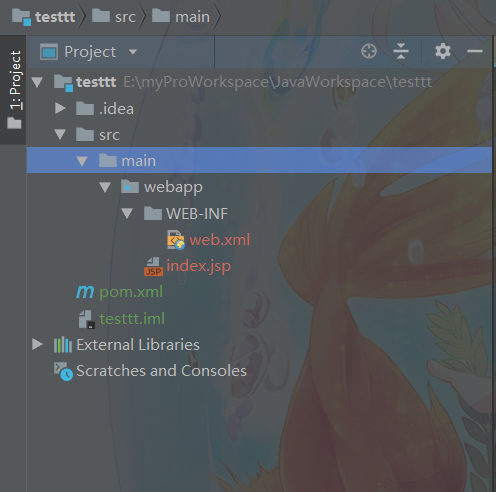
在此对文件夹进行相应说明:
(原文链接)
- .idea:是IDEA自动生成 ,.idea文件夹来存放项目的配置信息。其中包括版本控制信息、历史记录等等。如果你不小心删除它,下次它还会自动生成。
- src:项目的资源总目录,基本所有的操作都在这个文件夹里面进行。
- main:和src基本作用差不多
- webapp:这是前端部分,可以在这个目录下创建css、js等文件夹用于存放前端的一些静态文件。以及创建JSP等网页文件。
- WEB-INF:WEB-INF是Java的WEB应用的安全目录。所谓安全就是客户端无法访问,只有服务端可以访问的目录。如果想在页面中直接访问其中的文件,必须通过web.xml文件对要访问的文件进行相应映射才能访问。
- web.xml:web.xml的作用很大,是用来沟通后端的桥梁,这里可以配置一些信息,比如哪些是网站入口(index.jsp),声明404网页等等,以及声明哪些是后端的配置文件。整个web项目就是这样像纽带一样构建起来的。
- pom.xml:pom.xml主要描述了项目的maven坐标,包依赖关系。我们不需要在手动下载一些jar包,然后手动依赖。只要遵循它规则,他会自动帮我们下载依赖,是不是很方便!!!
修改pom.xml,web.xml
打开pom.xml文件,找到dependencies标签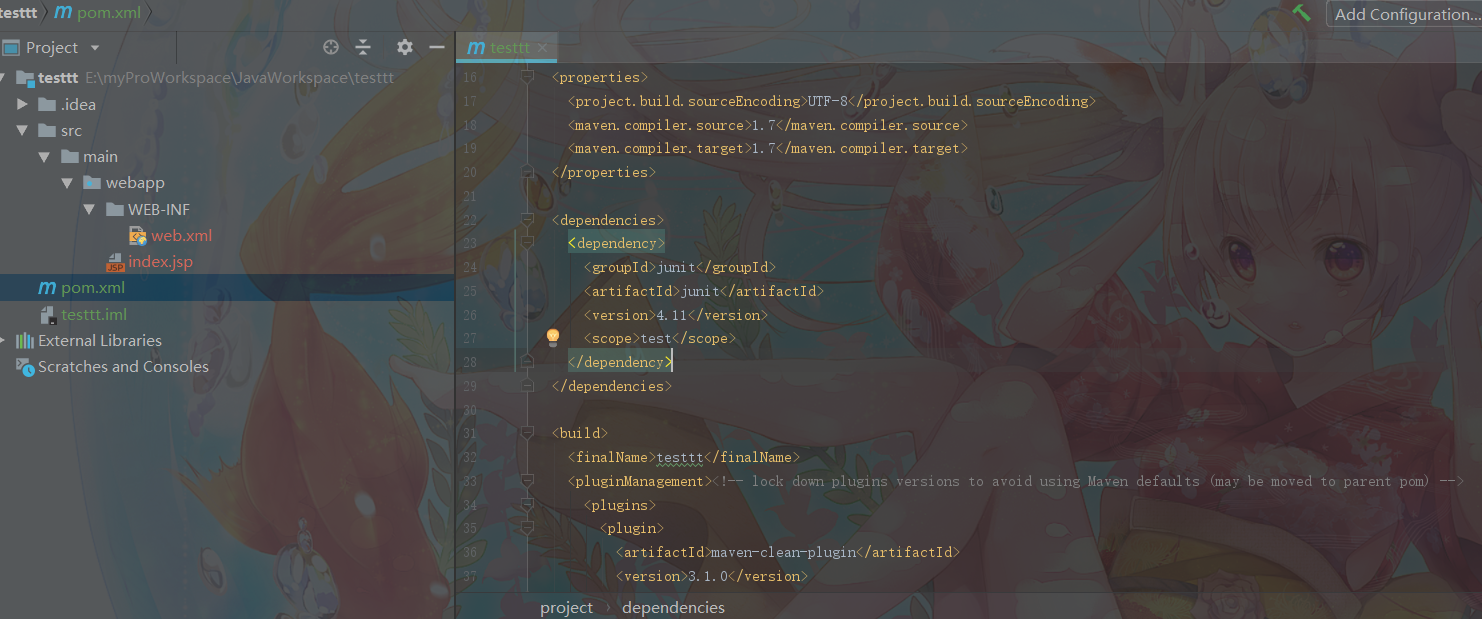
在标签添加依赖,添加方法很简单,你的项目用到了什么jar包你就去这个网站上进行搜索:
https://mvnrepository.com
进行搜索: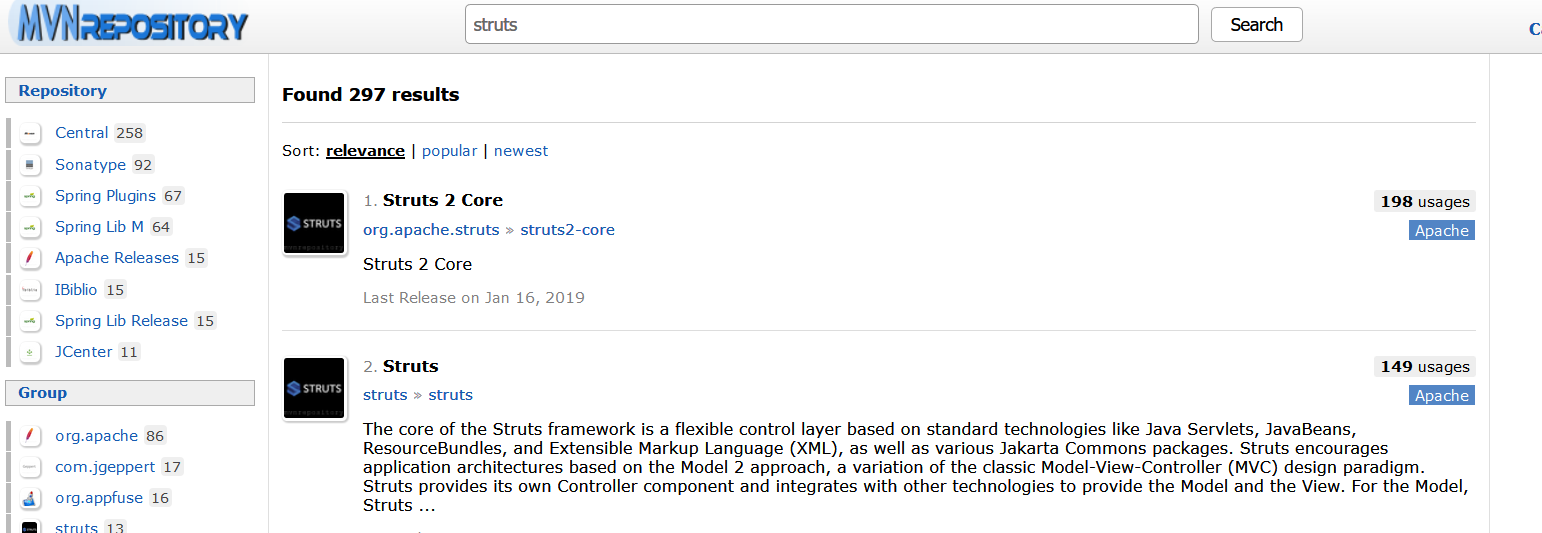
选择相应包: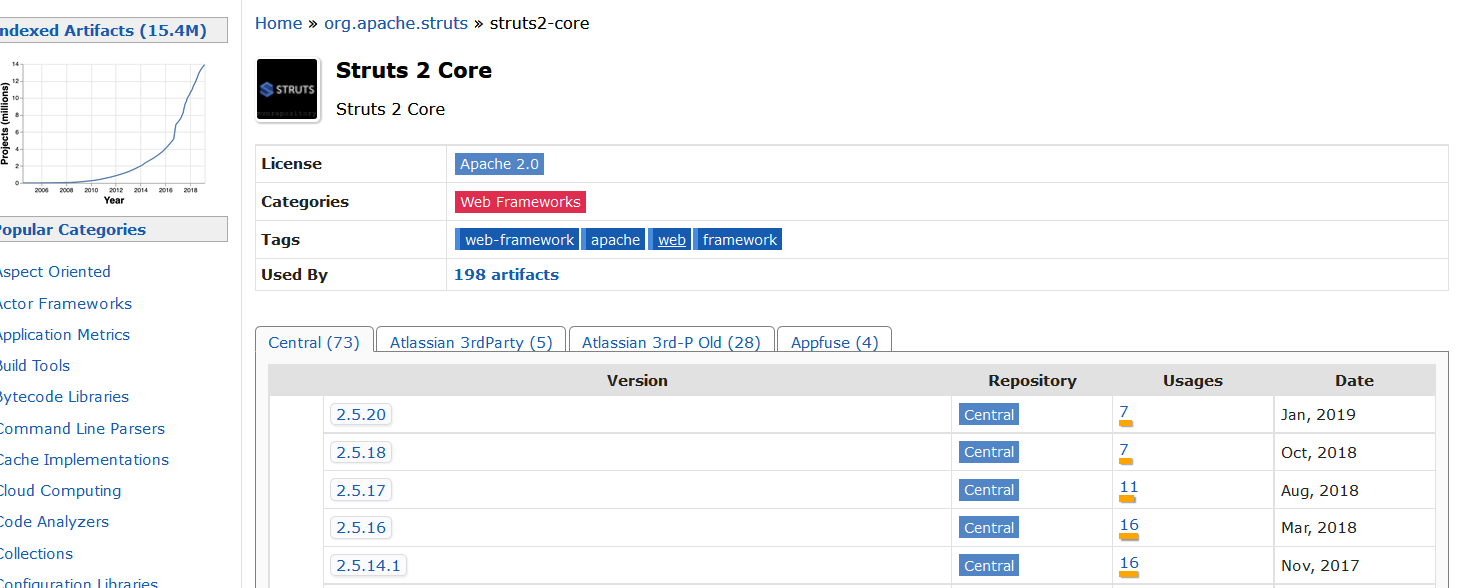
复制框中代码: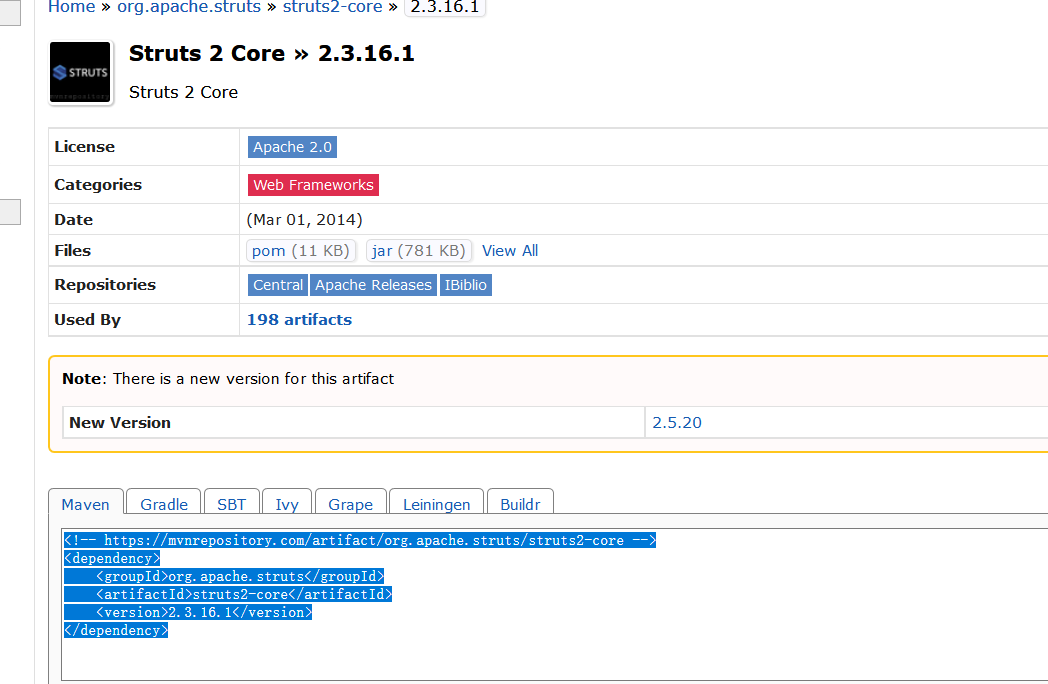
粘贴到dependencies标签下: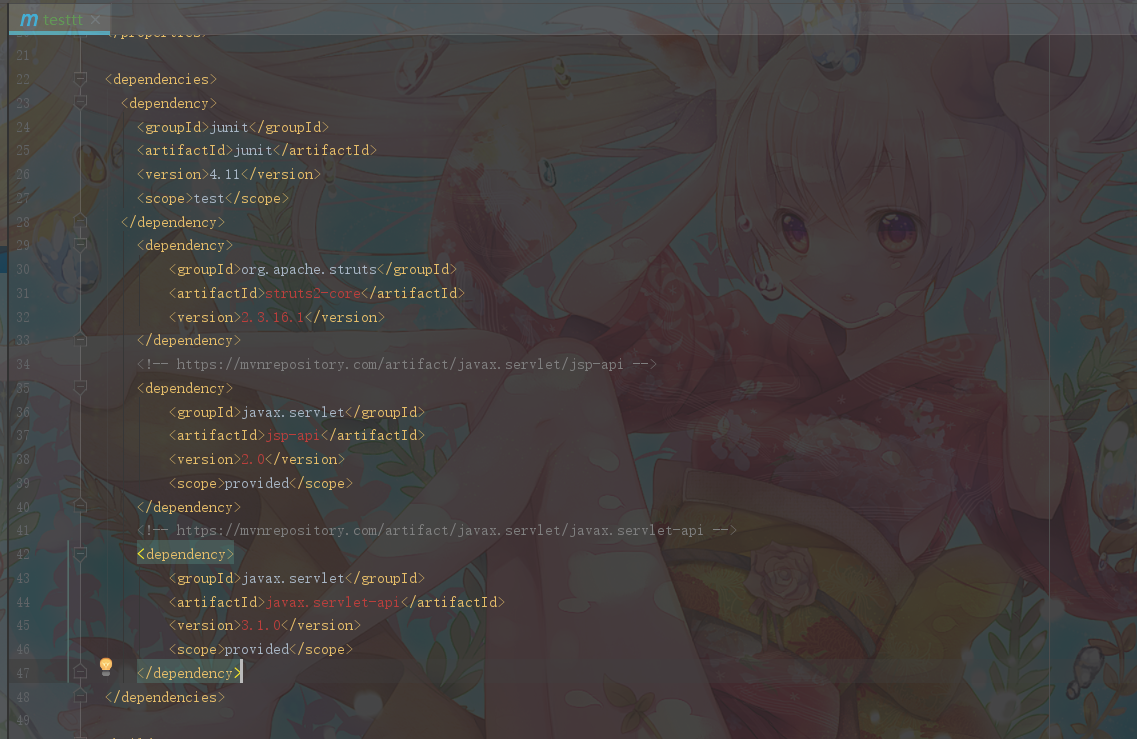
之后要等一会自动配置完后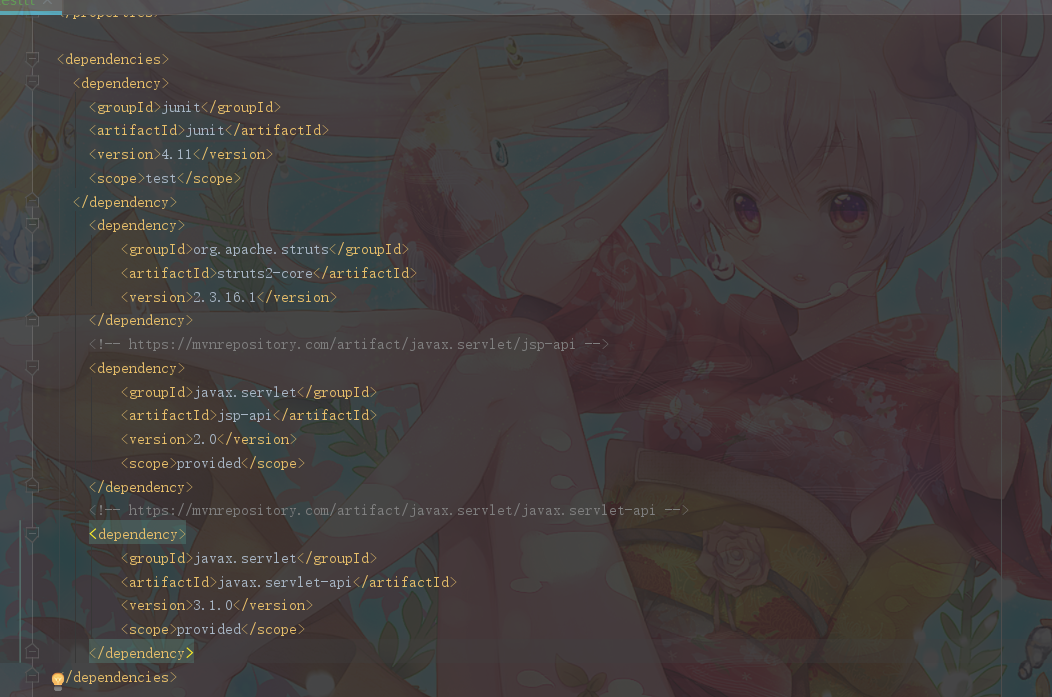
由于本次创建是为了跑项目,项目中用到了struts2框架,因此我们才用了struts2相关包,自己应该根据实际需求自己判断添加哪些dependency创建文件夹
在WEB-INF下创建classes文件夹用来存放编译后输出的classes文件
在main下新建java用来存放java代码,并将这个java文件夹标记为Sources Root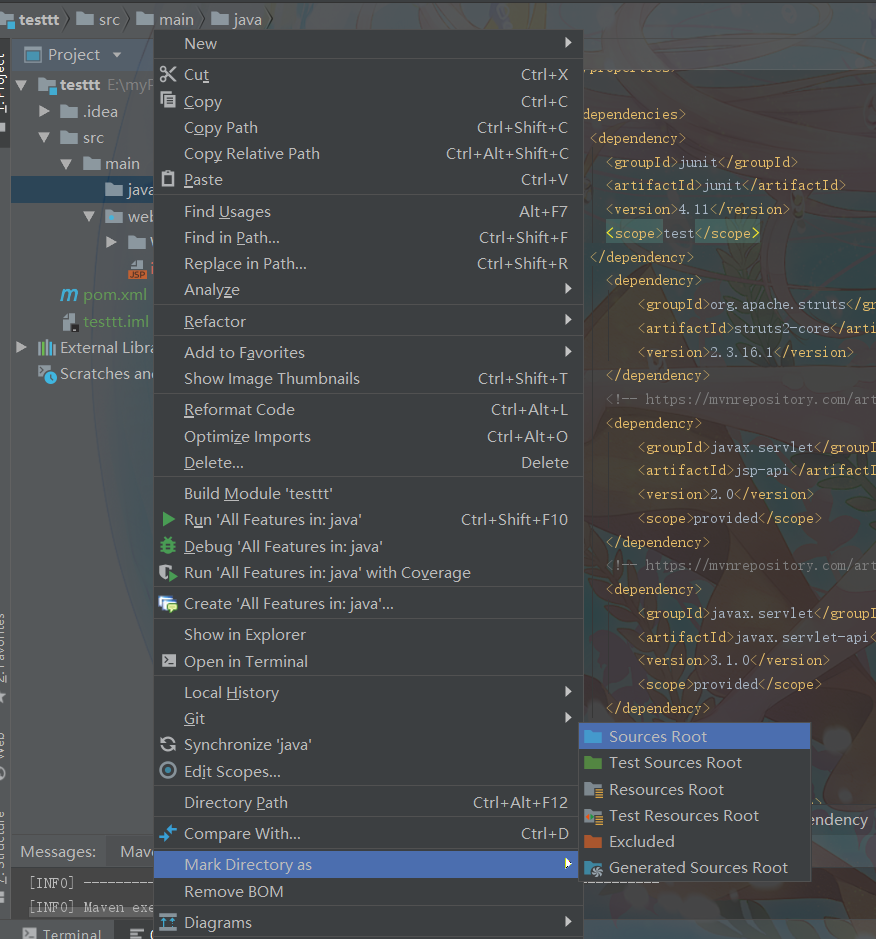
关于idea不同文件夹标记及含义问题如下:
- Source roots (or source folders)
通过将文件夹加入这种类别,来告诉IntelliJ IDEA,这个文件夹和它的子文件夹中包含源码,在构建工程时,需要作为一部分被编译进去。 - Test source roots (or test source folders; shown as rootTest)
这个类型的文件夹也用于存放源码,不过是测试的源码(比如单元测试)。test source 文件夹可以帮助你将测试代码和产品代码分离开。 - Resource roots
该类文件夹用于存放你的应用中需要用到的资源文件(如:图片、xml或者properties配置文件等)。
在构建过程中,resources文件夹中的内容均会按照原文件的样子被复制到输出文件夹。和sources文件夹一样,你可以定制你的resources文件夹的结构。你也可以指定你的resources文件夹中的文件被拷贝到输出文件的哪个文件夹中。
ps:
- 默认情况下,工程编译后,resources中的文件和文件夹会被放置在和源码编译后相同的文件夹中,所以如果在源码中以相对路径读取resources中的配置文件时,可认为src中的java文件夹和resources为同一个根目录。
- Test resource roots
只有在java模式中可以使用)用于存放测试源码中关联的资源文件。除此之外,和resource文件夹没有区别。
- 之后在java文件中创建新的class文件,右击——New-Java Class
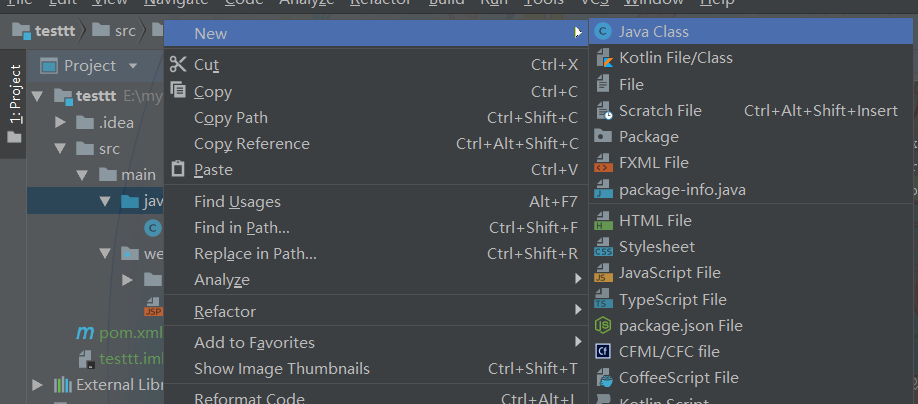 如果没有java Class选项,那就是上一步没做对
根据要运行的项目,我创建了两个java文件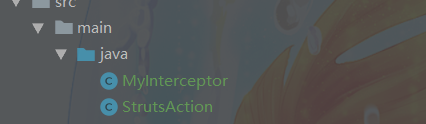
代码如下:1
2
3
4
5
6
7
8
9
10
11
12
13
14
15
16import com.opensymphony.xwork2.Action;
import com.opensymphony.xwork2.ActionInvocation;
import com.opensymphony.xwork2.interceptor.AbstractInterceptor;
public class MyInterceptor {
public String intercept(ActionInvocation arg0) throws Exception{
//得到StrutsAction类对象
StrutsAction action=(StrutsAction)arg0.getAction();
//如果Action类中的name属性的值为"hello",返回错误页面
if(action.getName().equals("hello")){
return Action.ERROR;
}
//继续执行其他拦截器或Action类中的方法
return arg0.invoke();
}
}
1 | |
- 配置web.xml
修改文本.xml内容如下:
1 | |
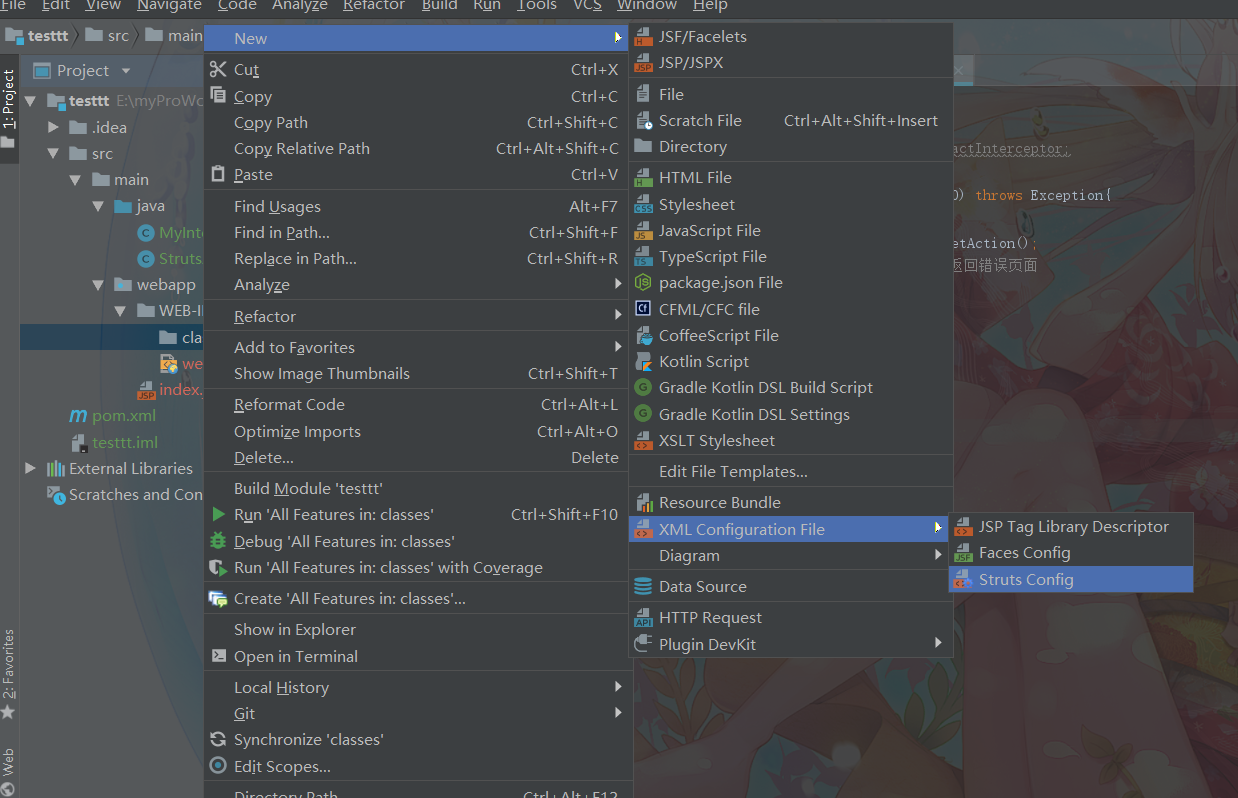
在创建的classes文件夹下新建struts.xml
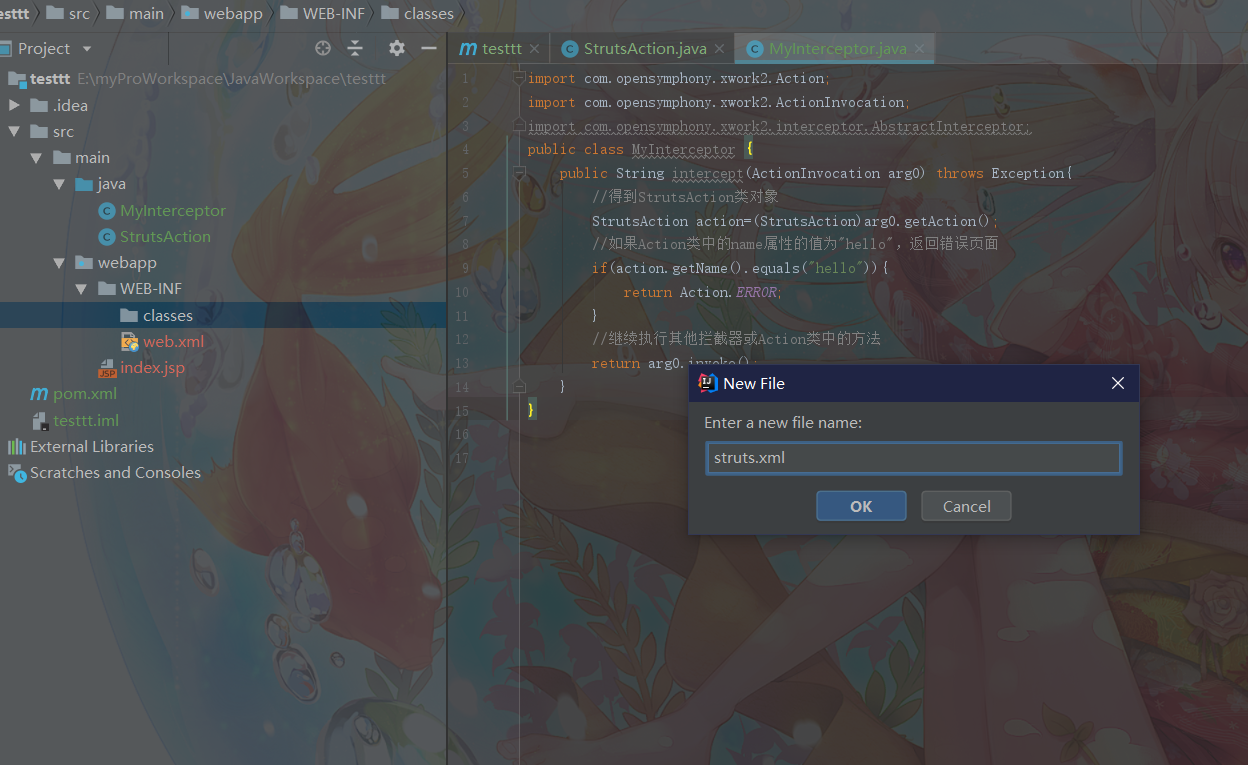
修改其中内容如下:1
2
3
4
5
6
7
8
9
10
11
12
13
14
15
16
17
18
19<?xml version="1.0" encoding="UTF-8"?>
<!DOCTYPE struts PUBLIC
"-//Apache Software Foundation//DTD Struts Configuration 2.0//EN"
"http://struts.apache.org/dtds/struts-2.0.dtd">
<struts>
<package name="default" extends="struts-default">
<interceptors>
<interceptor name="myInterceptor" class="MyInterceptor"></interceptor>
</interceptors>
<default-interceptor-ref name=""></default-interceptor-ref>
<action name="struts" class="StrutsAction" >
<result name="success">/welcome.jsp</result>
<result name="error">/hello.jsp</result>
<result name="input">/hello.jsp</result>
<interceptor-ref name="defaultStack"></interceptor-ref>
<interceptor-ref name="myInterceptor"></interceptor-ref>
</action>
</package>
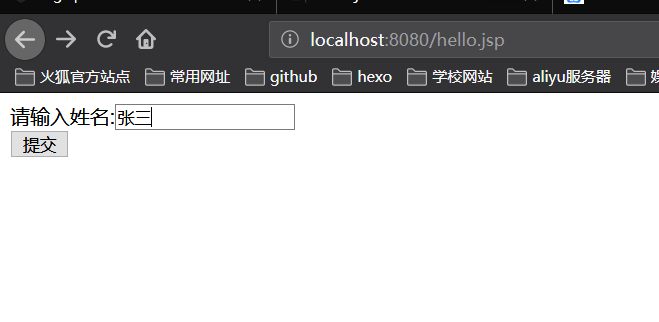
</struts>在index.jsp的位置添加并修改文件
最后共有三个jsp文件 index.jsp,hello.jsp,welcome.jsp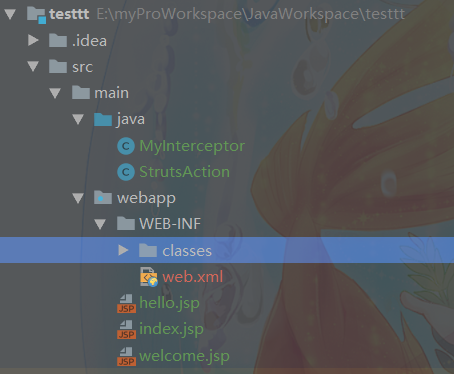
index.jsp不变
hello.jsp代码如下:1
2
3
4
5
6
7
8
9
10
11
12
13
14
15
16
17
18
19
20
21
22
23
24
25
26
27
28
29
30
31
32<%@ page language="java" import="java.util.*" pageEncoding="utf-8"%>
<%
String path = request.getContextPath();
String basePath = request.getScheme()+"://"+request.getServerName()+":"+request.getServerPort()+path+"/";
%>
<!DOCTYPE HTML PUBLIC "-//W3C//DTD HTML 4.01 Transitional//EN">
<html>
<head>
<base href="<%=basePath%>">
<title>实例5-1:struts2应用</title>
<meta http-equiv="pragma" content="no-cache">
<meta http-equiv="cache-control" content="no-cache">
<meta http-equiv="expires" content="0">
<meta http-equiv="keywords" content="keyword1,keyword2,keyword3">
<meta http-equiv="description" content="This is my page">
<!--
<link rel="stylesheet" type="text/css" href="styles.css">
-->
</head>
<body>
<form action="struts.action" method="post">
请输入姓名:<input type="text" name="name"/><br>
<input type="submit" value="提交"/>
</form>
</body>
</html>welcome.jsp代码如下:
1
2
3
4
5
6
7
8
9
10
11
12
13
14
15
16
17
18
19
20
21
22
23
24
25
26
27
28
29
30<%@ page language="java" import="java.util.*" pageEncoding="utf-8"%>
<%
String path = request.getContextPath();
String basePath = request.getScheme()+"://"+request.getServerName()+":"+request.getServerPort()+path+"/";
%>
<%@ taglib prefix="s" uri="/struts-tags" %>
<!DOCTYPE HTML PUBLIC "-//W3C//DTD HTML 4.01 Transitional//EN">
<html>
<head>
<base href="<%=basePath%>">
<title>实例5-1:struts2应用</title>
<meta http-equiv="pragma" content="no-cache">
<meta http-equiv="cache-control" content="no-cache">
<meta http-equiv="expires" content="0">
<meta http-equiv="keywords" content="keyword1,keyword2,keyword3">
<meta http-equiv="description" content="This is my page">
<!--
<link rel="stylesheet" type="text/css" href="styles.css">
-->
</head>
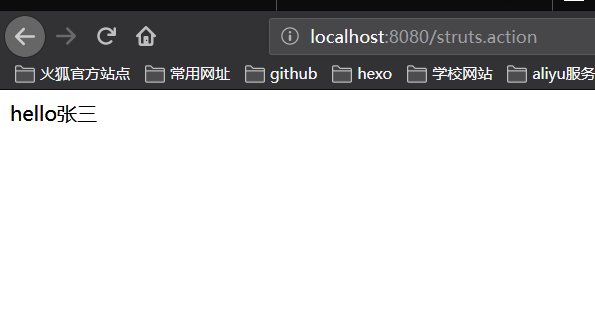
<body>
hello<s:property value="#request.name"/>
</body>
</html>更改配置
点击File-Project Structure或者快捷键ctrl+alt+shift+s 来打开面板
点击module-path修改编译的class文件输出路径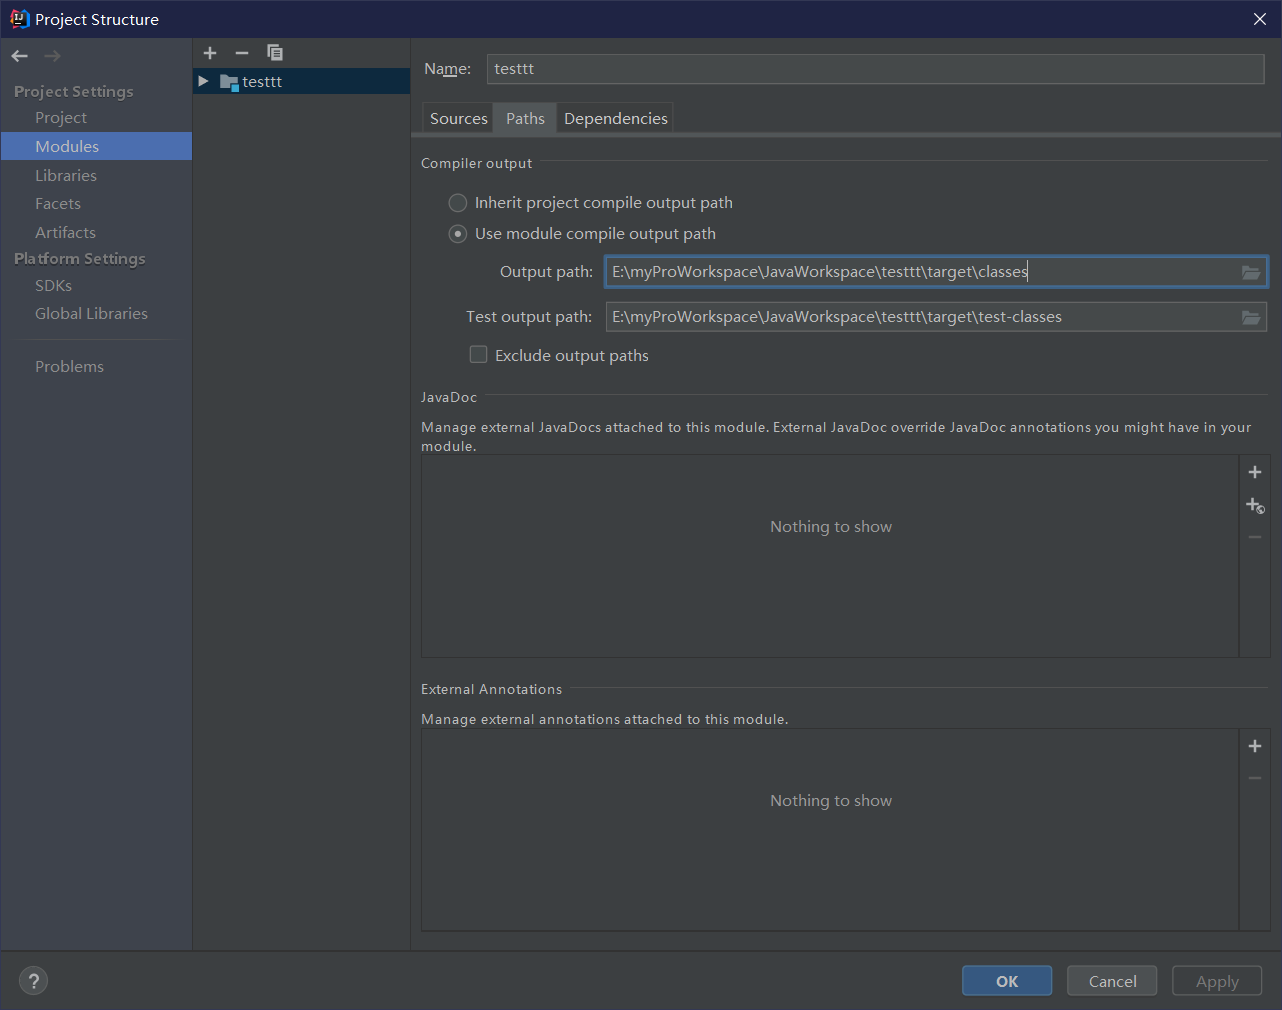
修改为: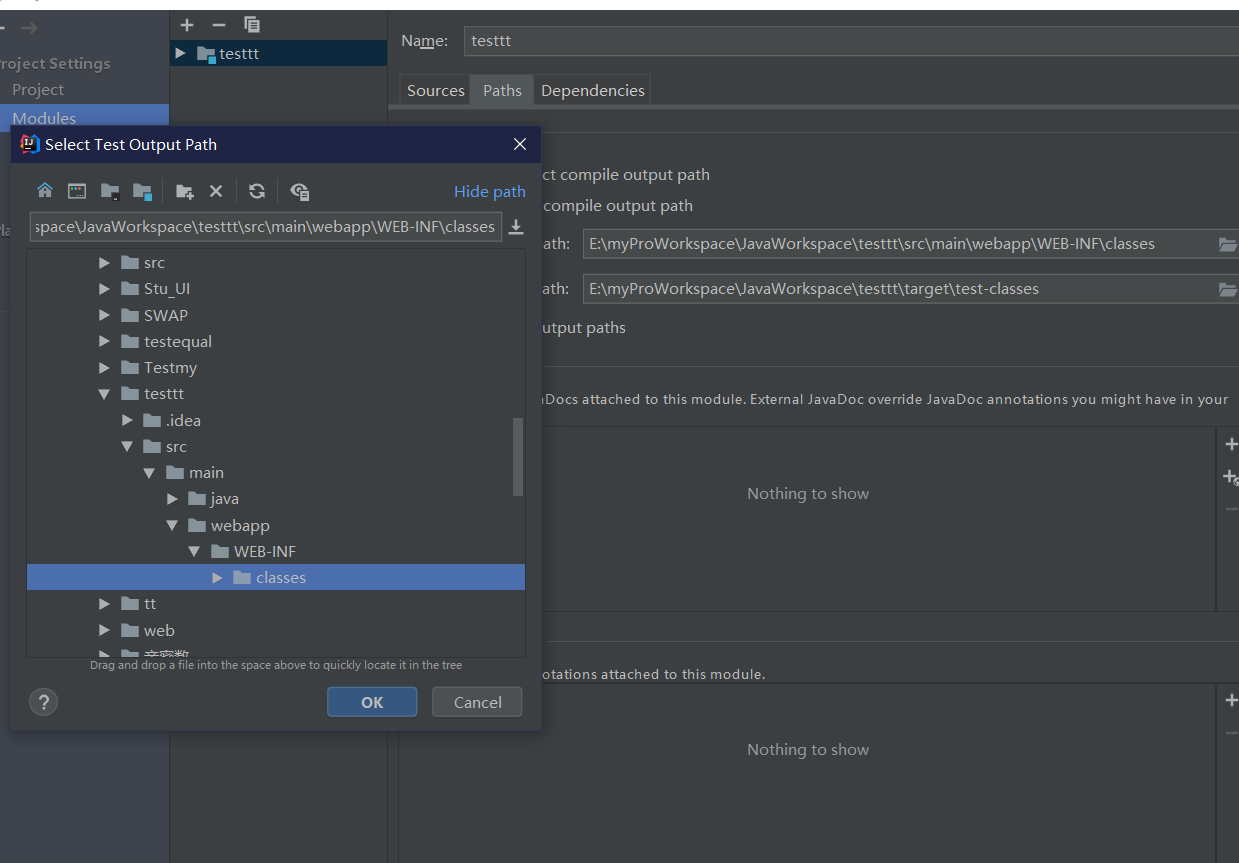
都输出到建立的classes文件下,同时struts.xml也在这个文件下进行运行前的服务器配置
同样是打开structure面板
修改Artifacts,点击exploded的选项,然后在如图所示的位置上右击,put into Output Root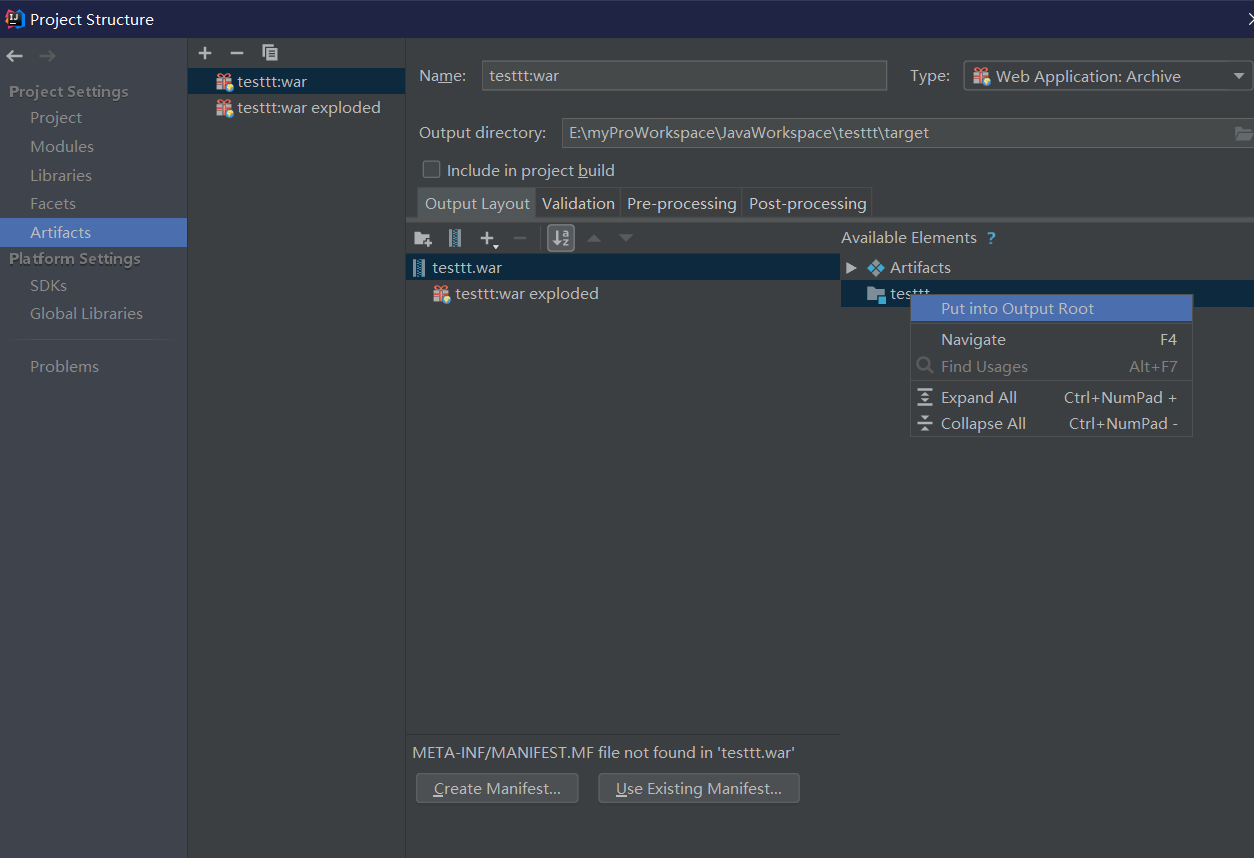
结果如下: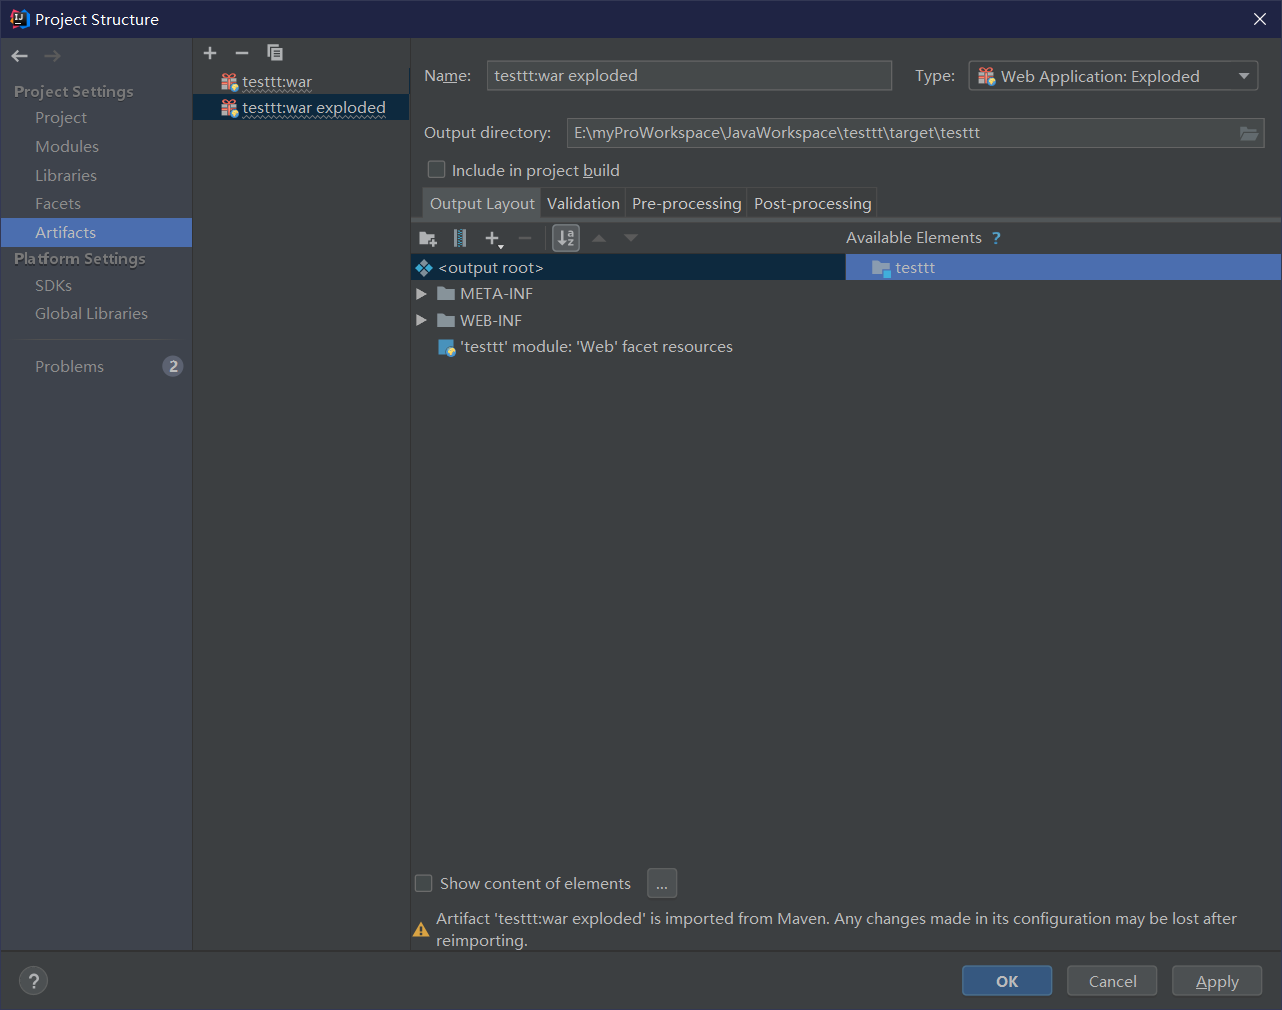
添加tomcat服务器
首先点击右上角Add Configuration添加配置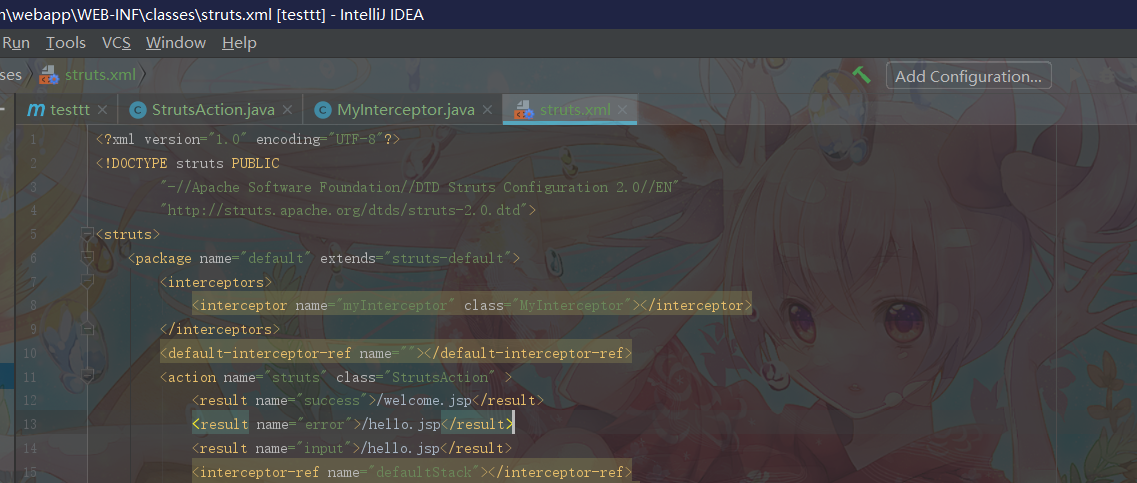
点击加号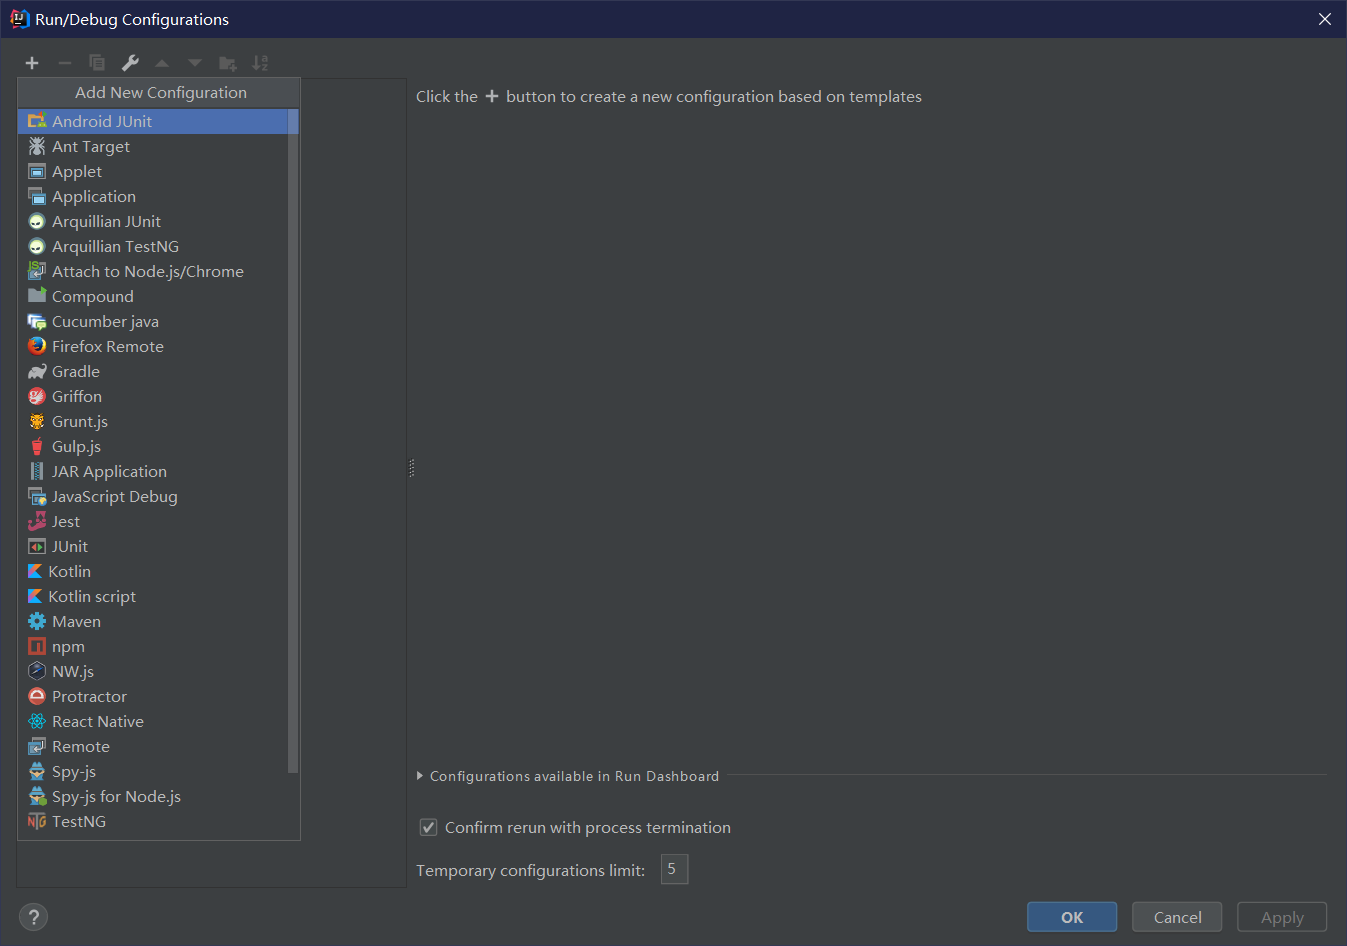
选择tomcat-local(需要自己下载tomcat,本文不提)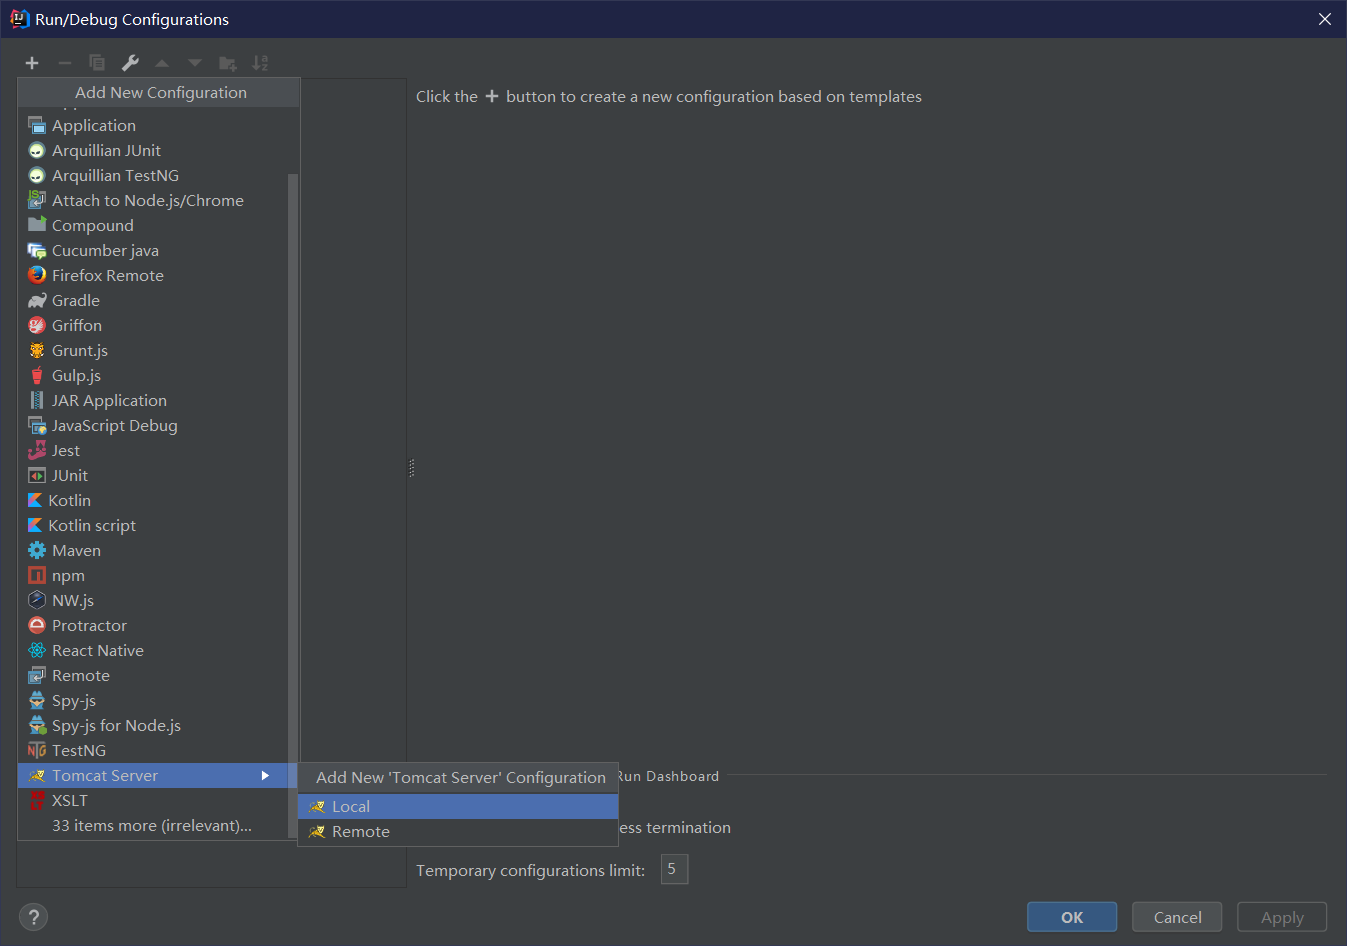
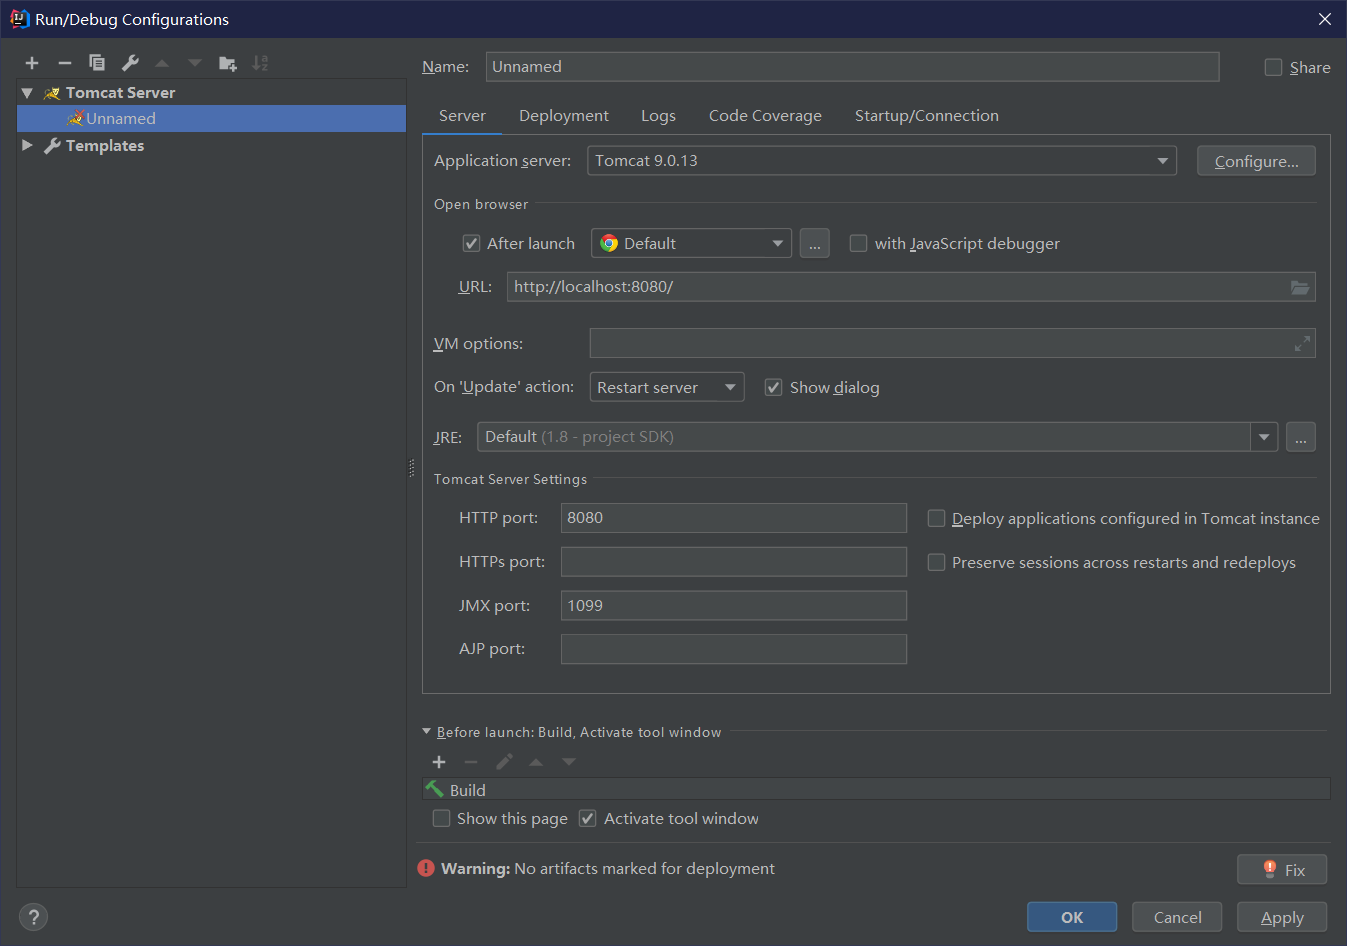
采取默认设置,点击右下角的fix,添加exploded(也可以通过Deployment添加)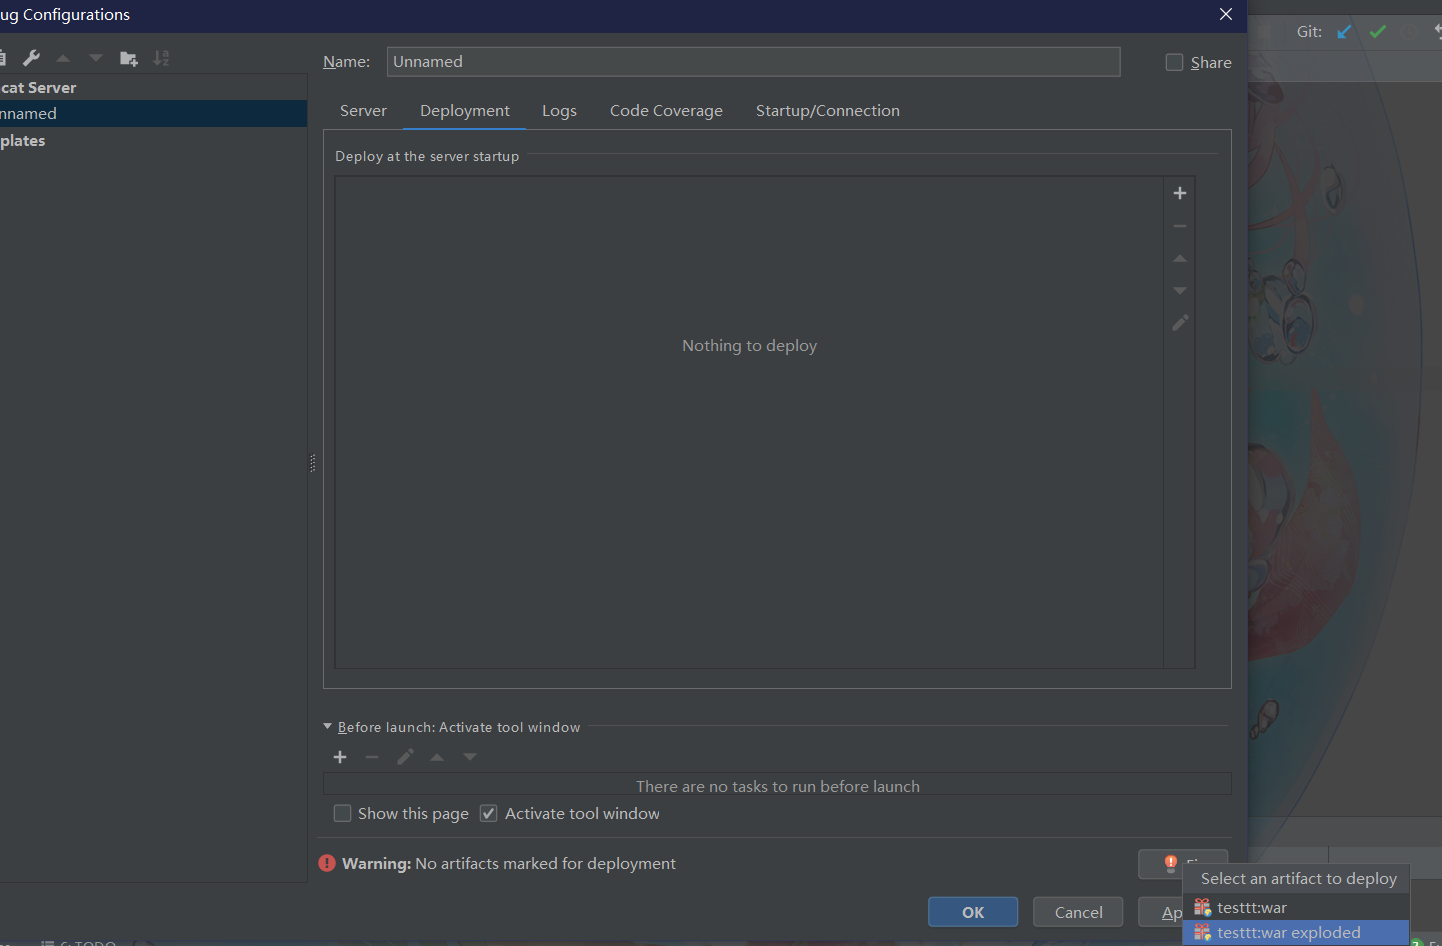
这里说一下exploded和普通的区别:war模式:将web工程以war包的形式上传到服务器
war exploed模式:将web工程以当前文件夹的位置关系上传到服务器
war模式这种可以称之为是发布模式,看名字也知道,这是先打包war包,再发布;
war exploded模式是直接把文件夹,jsp页面,classes等等移到Tomcat部署文件夹里面,进行加载部署。因此这种方式支持热部署,一般在开发的时候也是用这种方式。
在平时开发的时候,使用热部署的话,应该对Tomcat进行相应的设置,这样的话修改的jsp界面什么的东西才可以及时的显示出来运行

首先点击项目上的小锤按钮进行编译,
编译后classes文件夹下如下: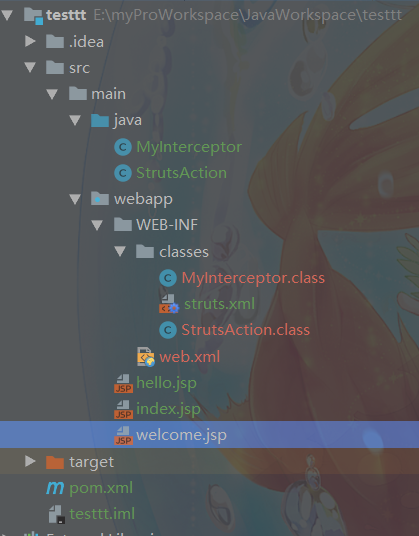
然后点击箭头进行运行
结果如下: